Preparing Your Driveway for Winter: A Sealcoating Checklist
CL
Understanding the Importance of Sealcoating
As winter approaches, homeowners often focus on insulating their homes and preparing their vehicles for the colder months. However, one crucial area that often gets overlooked is the driveway. Regular maintenance, including sealcoating, can significantly extend the life of your driveway and keep it looking pristine even after harsh winter conditions.
Sealcoating acts as a protective barrier against moisture, chemicals, and UV rays. During winter, driveways are subjected to snow, ice, and de-icing chemicals that can cause serious damage. By applying a sealcoat, you help prevent cracks and potholes from forming, saving you from costly repairs in the future.
Preparing Your Driveway for Sealcoating
Before applying a sealcoat, it's essential to prepare your driveway properly. This preparation ensures that the sealcoat adheres correctly and provides maximum protection. Follow these steps to get your driveway ready:
1. Clean the Surface
The first step is to thoroughly clean your driveway. Remove any dirt, leaves, and debris using a leaf blower or broom. For oil stains, use a degreaser and scrub brush to ensure they don't interfere with the sealant's adhesion.
2. Repair Cracks and Holes
Inspect your driveway for any cracks or holes. Use a crack filler or patching compound to fix these issues. Allow sufficient time for the repairs to cure before proceeding with sealcoating.
3. Check the Weather
Weather plays a vital role in the success of sealcoating. Make sure to choose a day when temperatures are consistently above 50°F, and there's no rain forecasted for at least 24 hours after application. This ensures the sealcoat dries properly.
The Sealcoating Process
Once your driveway is prepped, you can move on to the sealcoating process. Here’s what you need to do:
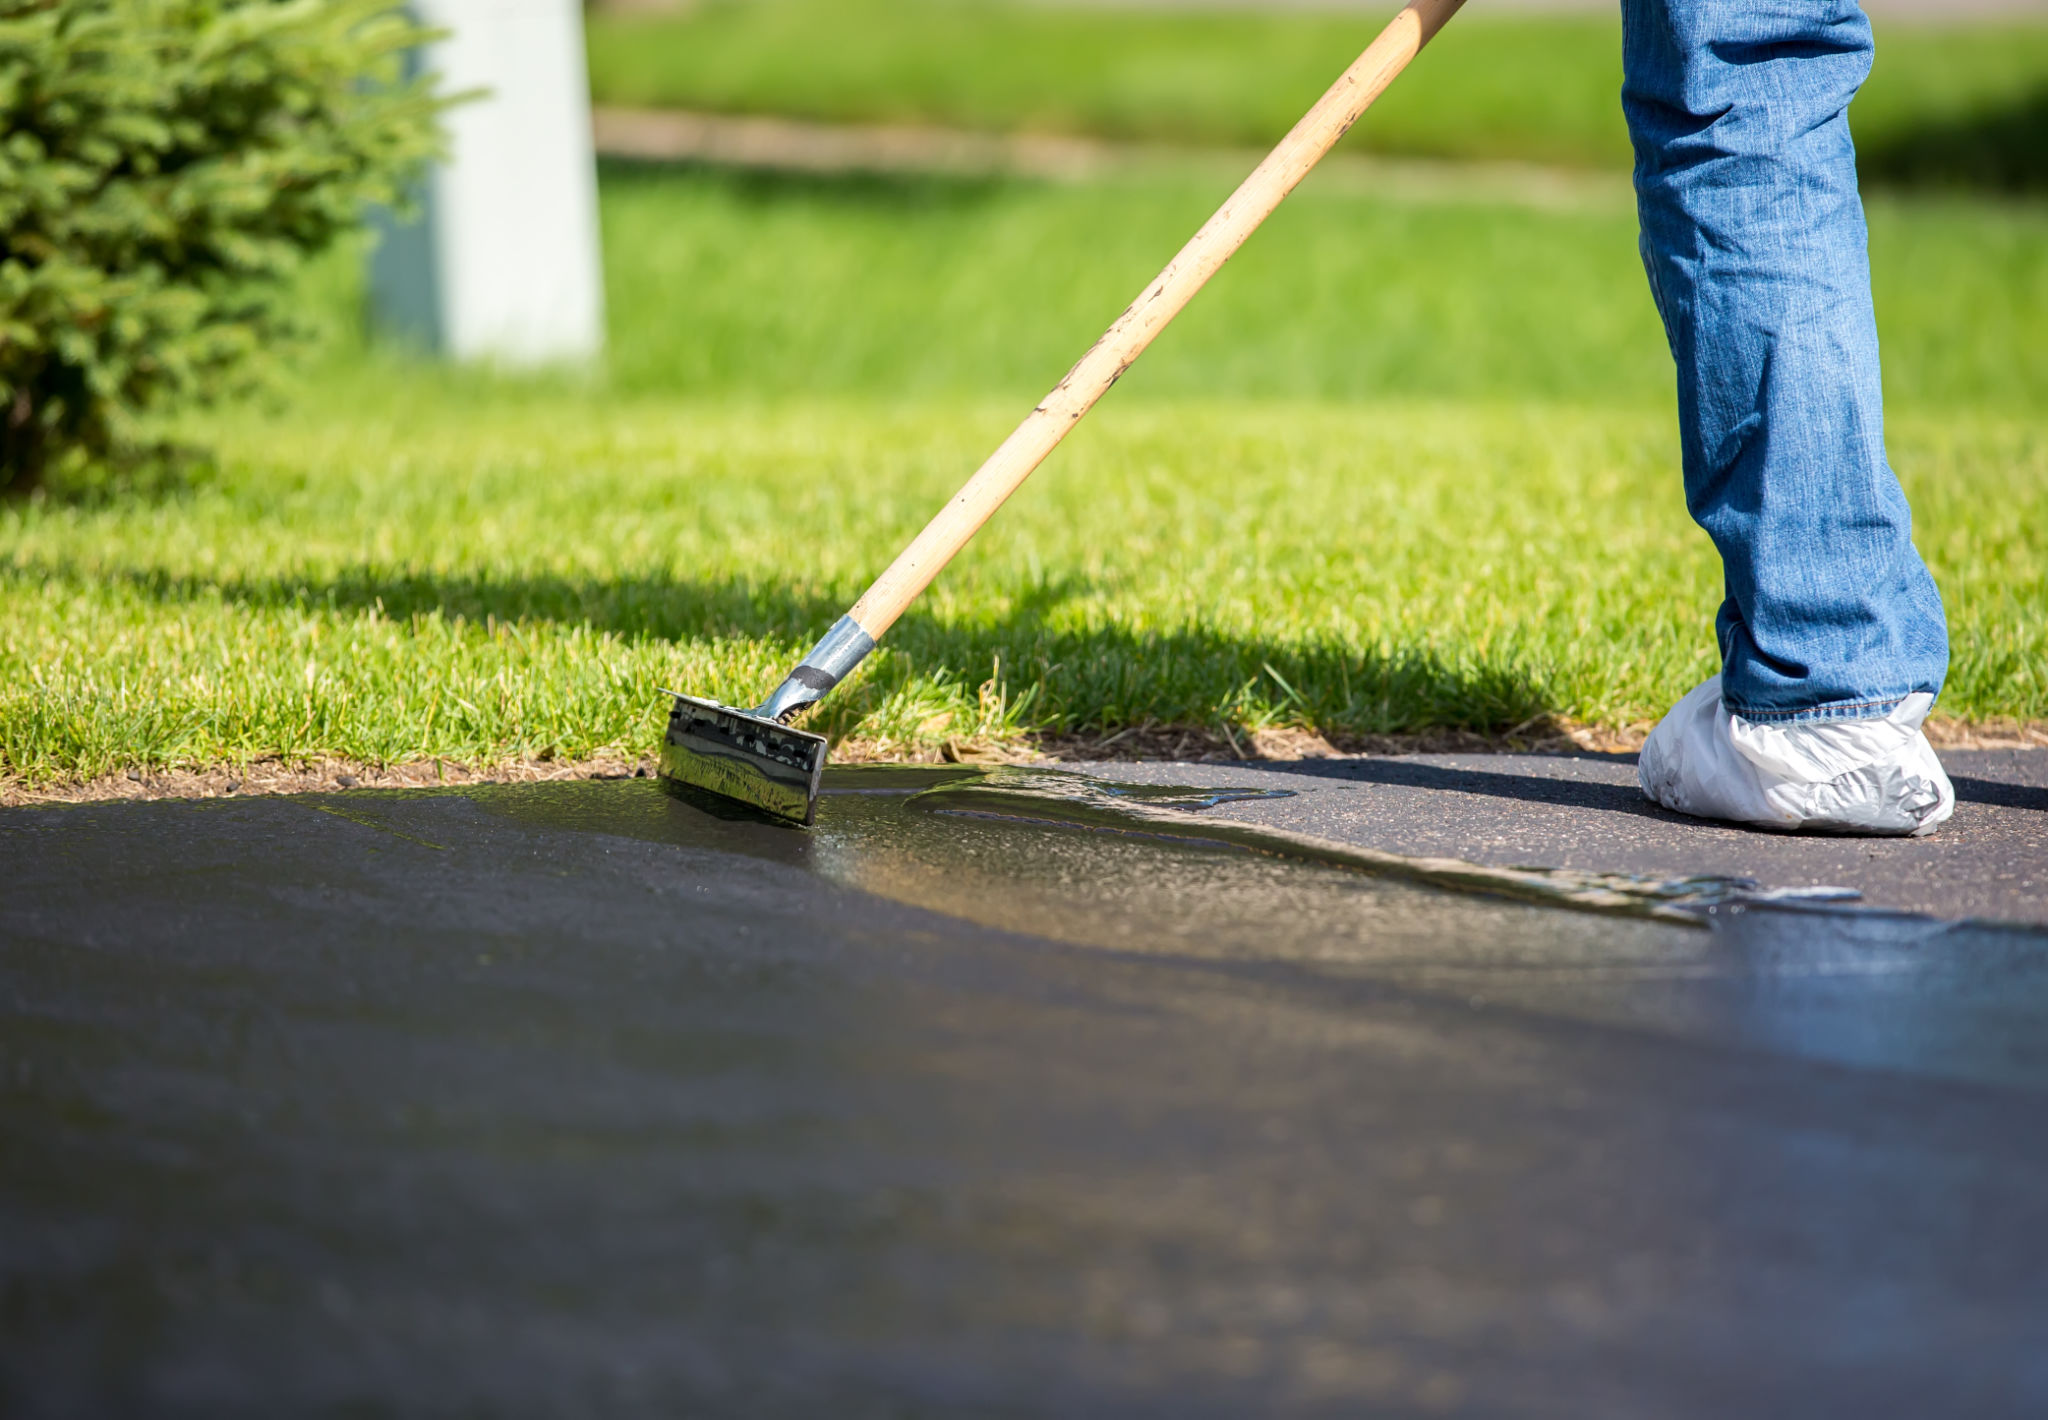
1. Apply the Sealcoat
Use a squeegee or brush applicator to spread the sealcoat evenly across the driveway surface. Start at one end and work your way to the other, ensuring a uniform layer. Apply in thin coats to avoid puddling.
2. Allow Time for Drying
After applying the sealcoat, it's crucial to allow ample drying time. Keep vehicles and foot traffic off the driveway for at least 24 to 48 hours to ensure the coating sets properly without any disturbances.

Post-Sealcoating Care
Once your driveway is sealed and dried, a few additional measures can help maintain its condition throughout winter:
- Avoid using metal shovels: They can scrape off the sealcoat and damage the surface.
- Regularly remove snow: This prevents ice formation and reduces stress on the driveway.
- Minimize de-icing chemicals: These can be harsh on the sealcoat, so use them sparingly.
By following this checklist, you can ensure that your driveway remains protected throughout winter, maintaining its appearance and structural integrity for years to come.