A Comprehensive Guide to Sealcoating: Protecting Your Driveway Investment
CL
Understanding Sealcoating
Sealcoating is a vital maintenance step for anyone looking to protect their driveway investment. It involves applying a protective layer to the surface of asphalt pavement, which helps shield it from the damaging effects of weather, chemicals, and traffic. This process not only enhances the appearance of your driveway but also extends its lifespan, ultimately saving you money in the long run.

The Benefits of Sealcoating
One of the primary benefits of sealcoating is its ability to protect against water damage. Water can seep into cracks and cause erosion or freeze, leading to further cracking. By sealing your driveway, you create a barrier that prevents water penetration. Additionally, sealcoating protects against the sun's UV rays, which can cause the asphalt to become brittle and crack over time.
Sealcoating also provides a layer of protection against oil spills and other chemicals that can stain and deteriorate your driveway. This is particularly important for driveways that see frequent use, as it helps maintain a clean and fresh appearance while preserving the structural integrity of the surface.
When to Sealcoat Your Driveway
Timing is crucial when it comes to sealcoating. It is generally recommended to sealcoat your driveway every 2 to 3 years, depending on the climate and usage. Newly paved driveways should be allowed to cure for at least 90 days before sealcoating. It's best to perform this task during the warmer months when temperatures are consistently above 50°F (10°C) for optimal results.
Preparing for Sealcoating
Proper preparation is key to ensuring the effectiveness of sealcoating. Start by cleaning your driveway thoroughly to remove any dirt, debris, or oil stains. Repair any cracks or potholes before applying the sealcoat. This ensures a smooth, even finish and prevents future damage from worsening. It's also important to check the weather forecast and choose a dry day for application.
If you plan to take on the task yourself, make sure you have the necessary tools and materials, including a squeegee or brush for application. However, hiring a professional can save time and ensure a high-quality result.
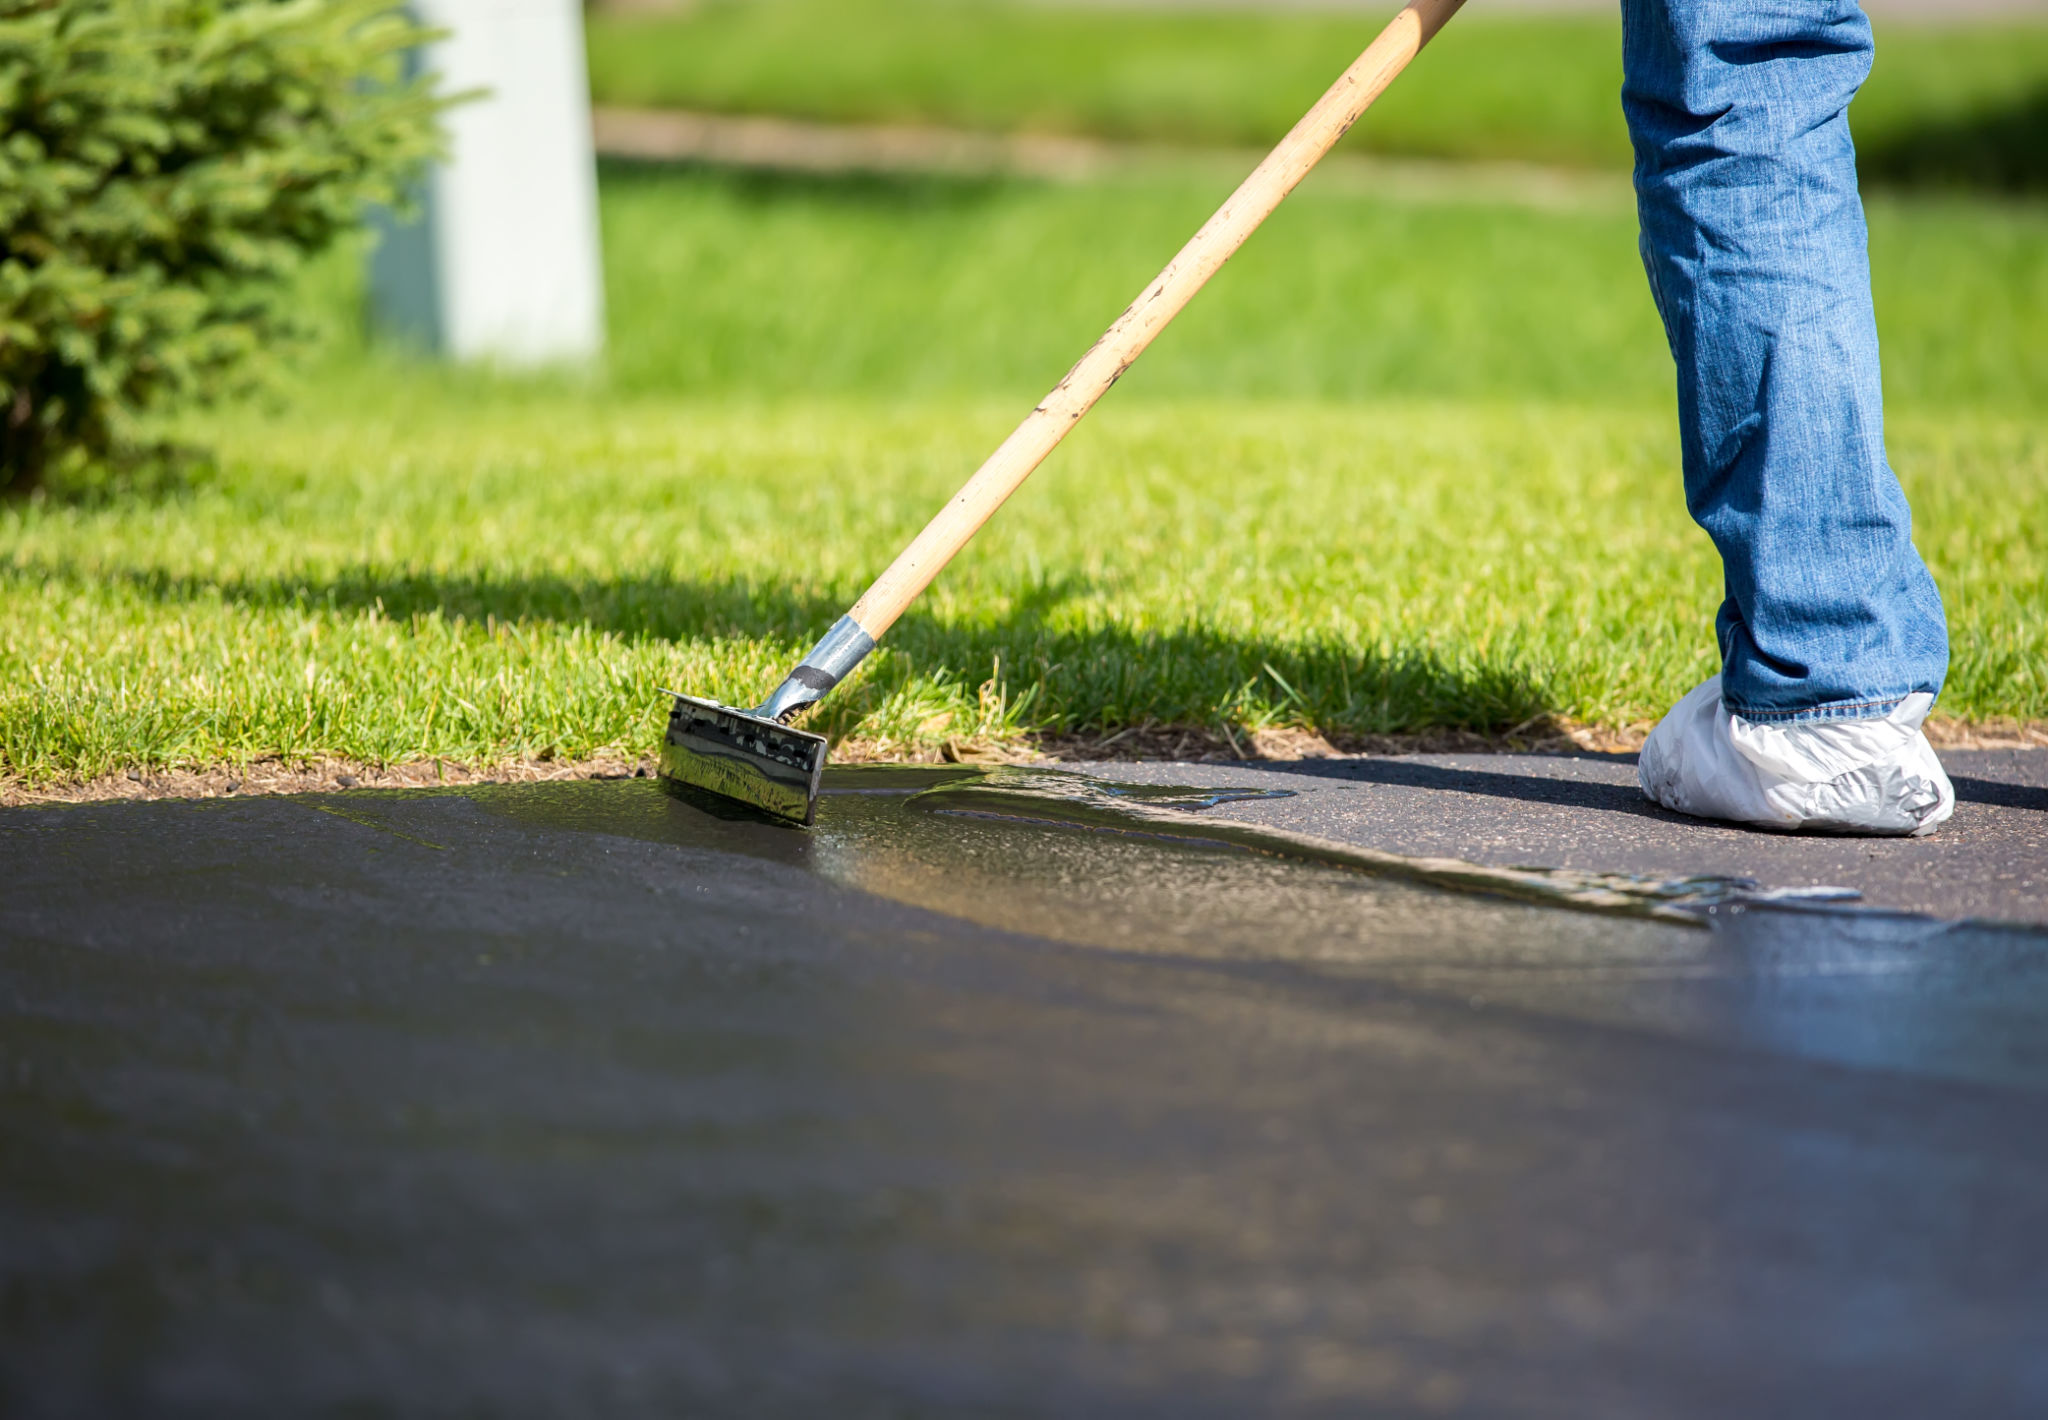
The Sealcoating Process
The actual process of sealcoating involves several steps. First, apply an oil spot primer on any areas stained by vehicle fluids. Next, stir the sealcoat thoroughly and pour it onto the driveway. Using a squeegee or brush, spread the sealcoat evenly across the surface, working in sections to ensure complete coverage. Allow the first coat to dry before applying a second coat if needed for enhanced protection.
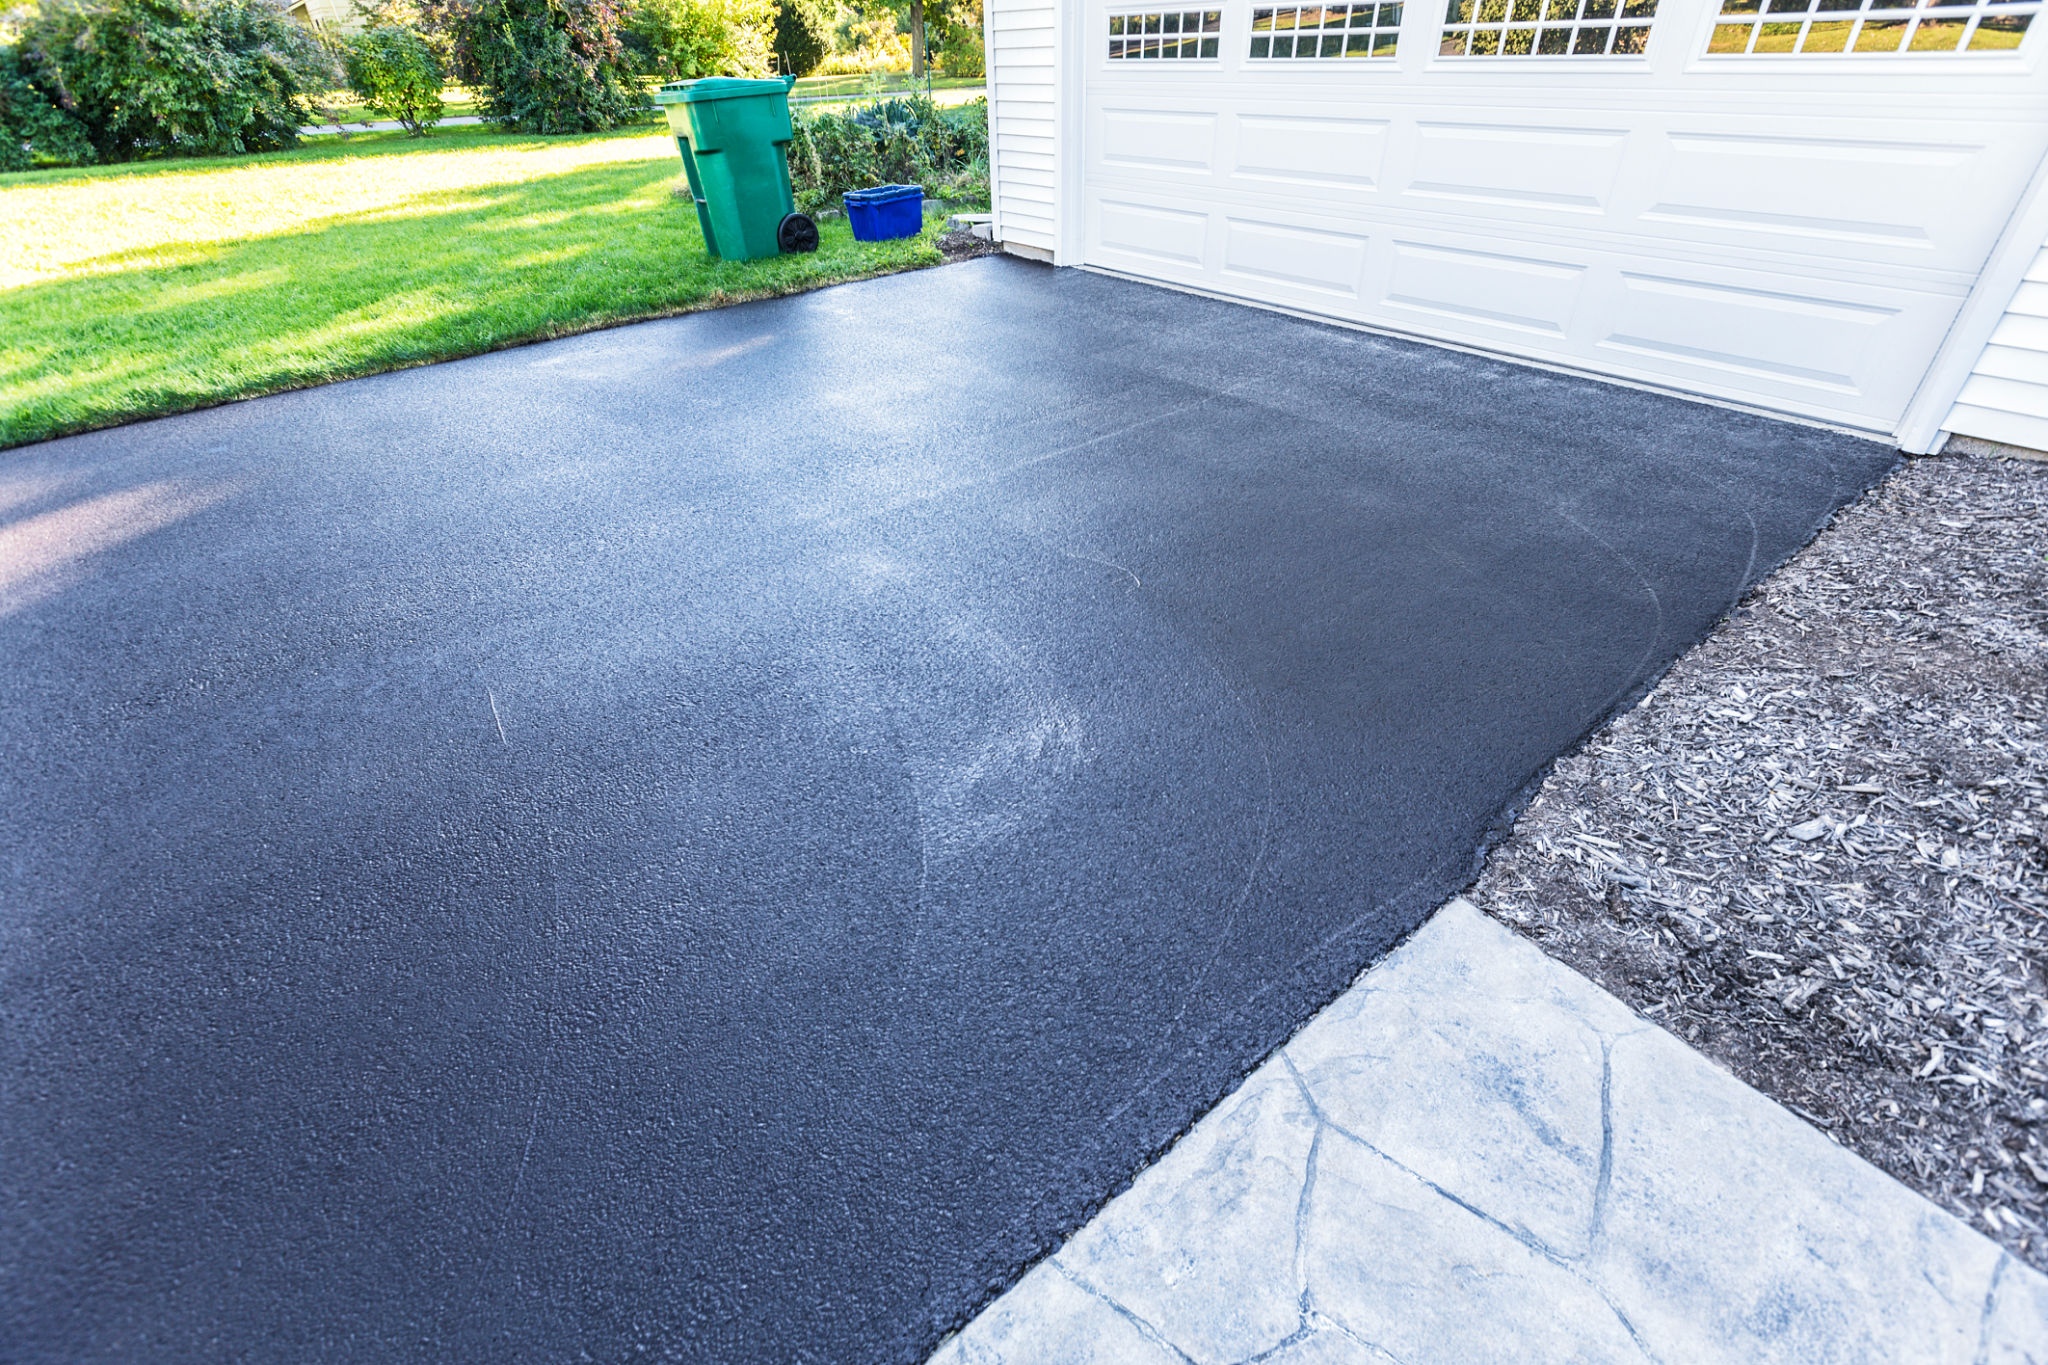
Aftercare and Maintenance
Once your driveway has been sealcoated, it's important to allow it adequate time to cure. Avoid parking vehicles or placing heavy objects on your driveway for at least 24 to 48 hours. Regular maintenance, such as sweeping debris and quickly addressing any new cracks or stains, will help prolong the life of your sealcoat.
Consider establishing a regular maintenance schedule and keeping an eye on any signs of wear. This proactive approach will ensure that your driveway remains in excellent condition for years to come.
Conclusion
Investing in sealcoating is a smart decision for anyone looking to protect their driveway from the elements and everyday wear and tear. By understanding the process and following proper preparation and maintenance steps, you can significantly extend the life of your driveway and maintain its aesthetic appeal.
Whether you choose to tackle sealcoating as a DIY project or hire professionals, remember that this protective measure is essential in safeguarding your investment. Regular upkeep and timely applications will keep your driveway looking pristine and performing well throughout its lifespan.